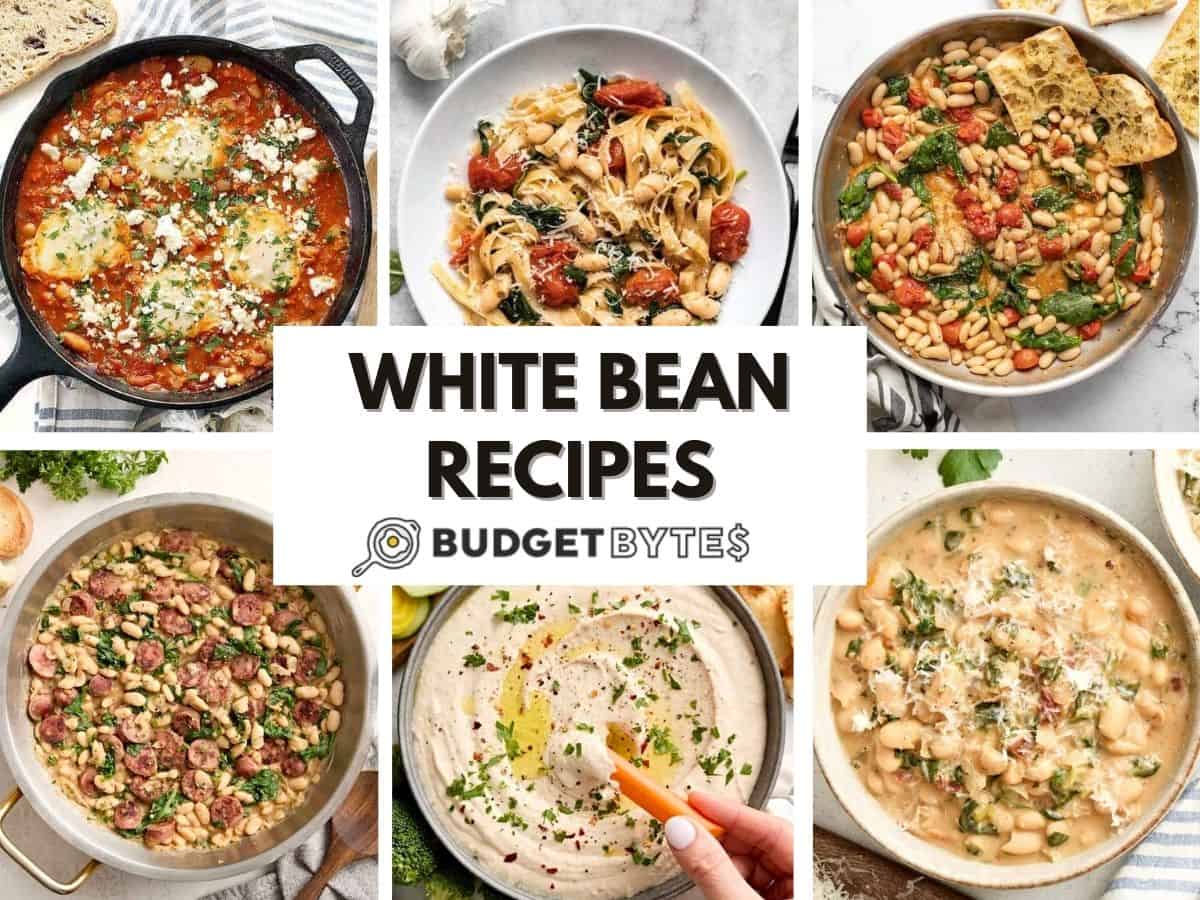
When I need a plant-based protein that’s equal parts cozy, budget-friendly, and basically impossible to mess up, I reach for white beans. They’re mild in the best way (aka they take on whatever flavors you throw at them), and they turn a few simple ingredients into a real meal. They’re the kind of pantry staple that makes me feel like I have my life together even when dinner is a little…improvised. 😅 Here are 18 of our favorite white bean recipes you’ll actually want to make on repeat. And if you’re a bean person in general, don’t miss our collection of black bean recipes to check out next!
Easy White Bean Skillets
Everything in this section comes together in a single pan, which means less mess and more time to actually eat!
1. Marry Me White Beans
Marry Me White Bean Skillet

This Marry Me white bean skillet is the veggie version of the viral “Marry Me chicken,” and yes, it’s just as swoon-worthy. A creamy sauce, sun-dried tomatoes, Parmesan, and basil pack in the flavor without much effort. Bonus: it’s ready in 25 minutes, which is basically the culinary equivalent of showing up early. 😉
2. Tuscan White Bean Pasta
Tuscan White Bean Pasta
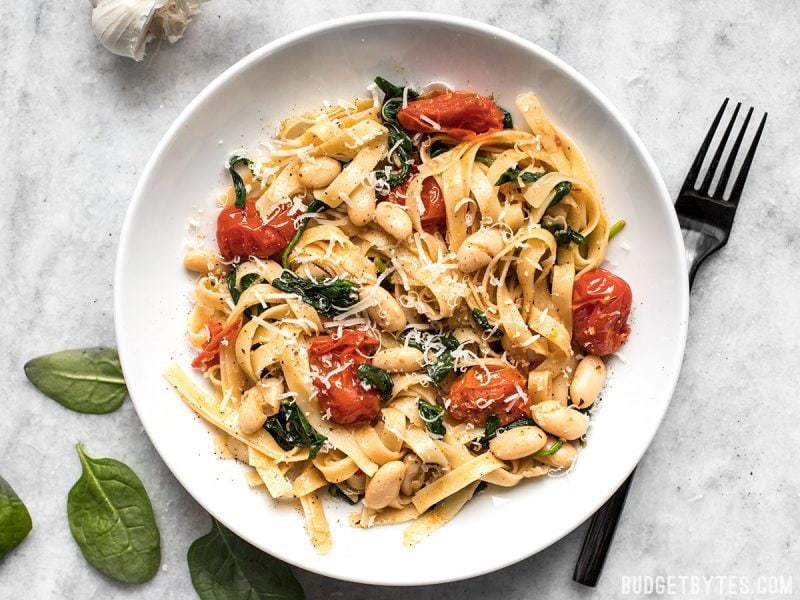
I think you’re going to love this Tuscan white bean pasta. It’s quick, uses a lot of fresh ingredients, and the payoff is ridiculously filling and flavorful. It’s packed with protein, veggies, and carbs, so it’s the definition of a one-dish meal!
3. Chicken Sausage White Bean Skillet
Chicken Sausage White Bean Skillet
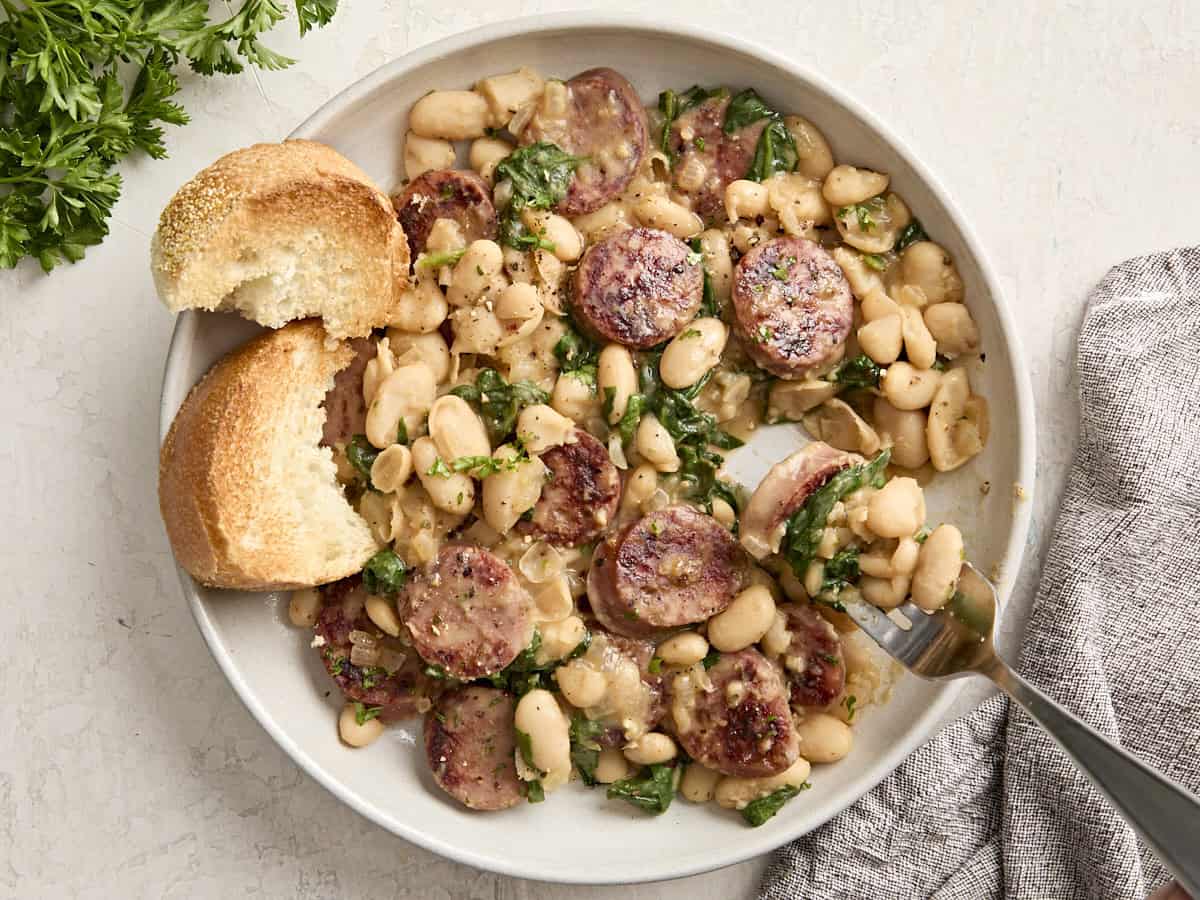
This chicken sausage white bean skillet uses pre-cooked chicken sausage to save time and canned white beans to save money—two of the best kinds of saving! Everything simmers together with broth and spices, then spinach gets wilted in at the end, and you’re done in about 25 minutes.
4. Italian Sausage White Bean Skillet
Italian Sausage and White Bean Skillet
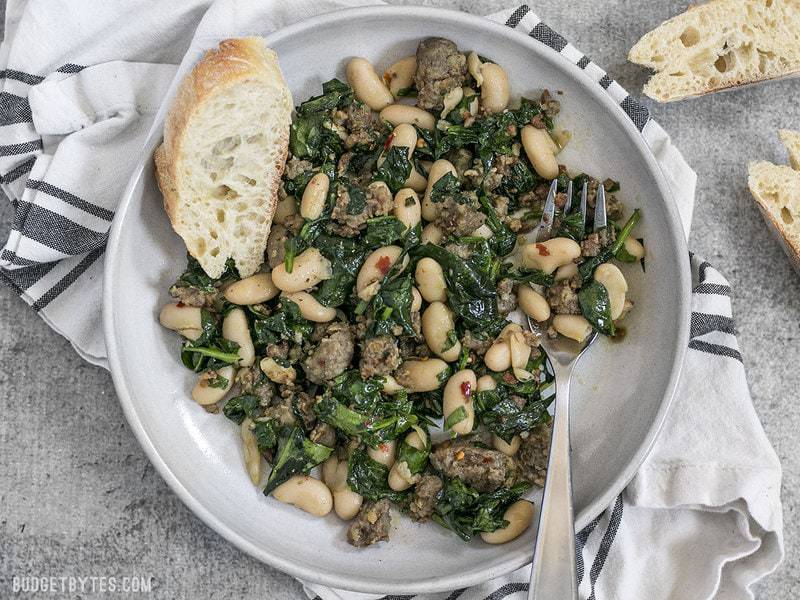
Italian sausage works so well in this recipe because it’s already packed with herbs and spices you’d normally add one by one, so it basically seasons the whole skillet for you. This Italian sausage white bean skillet is so easy and delicious!
5. Saucy White Beans with Spinach
Saucy White Beans with Spinach
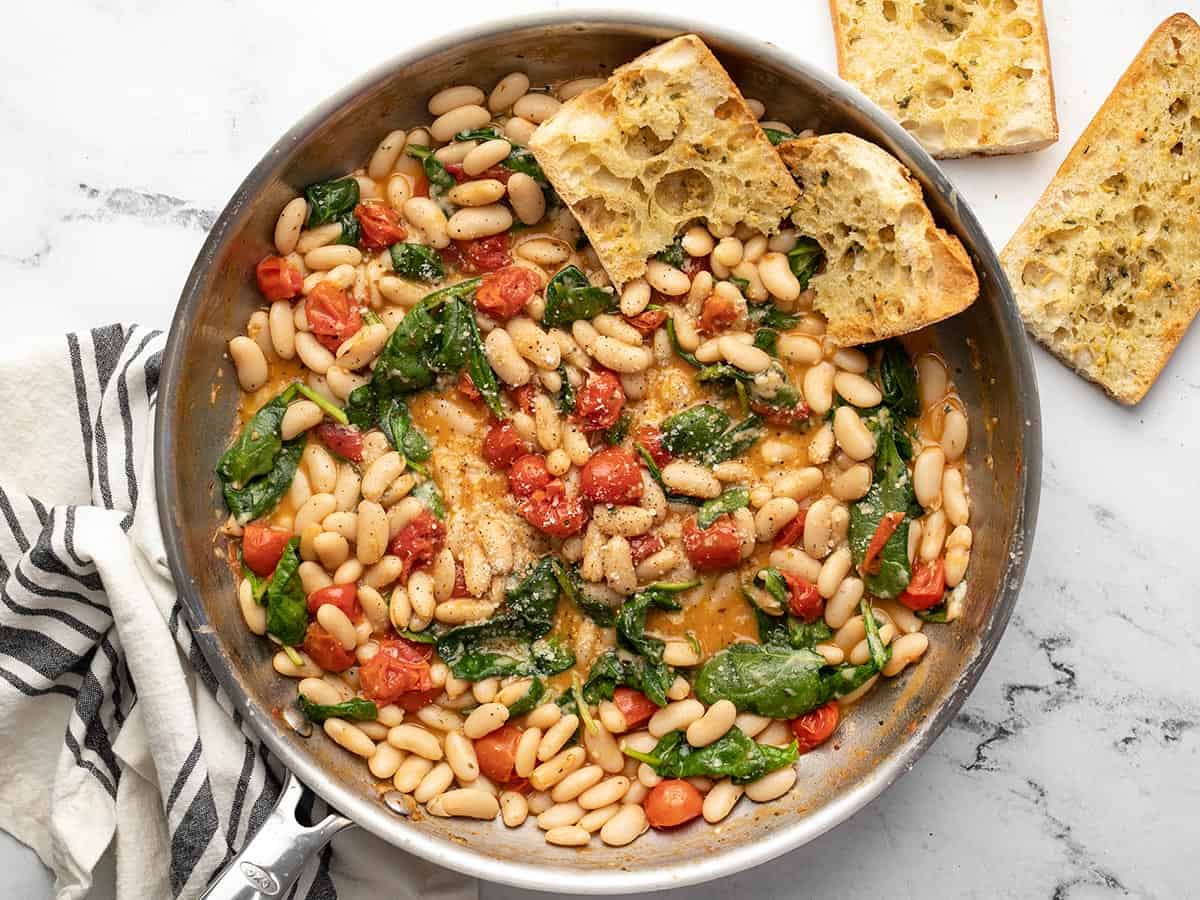
Getting more greens onto my family’s plates feels like a small personal victory, and this recipe makes it too easy. These saucy white beans are an easy skillet meal with canned white beans, garlic, tomatoes, a few herbs, Parm, and fresh spinach. That’s it!
Soups & Stews
White beans make soups and stews feel creamy and hearty without much effort. These are the cozy, big-bowl recipes I love to make for my family.
6. Easy White Bean Soup
Easy Rosemary Garlic White Bean Soup
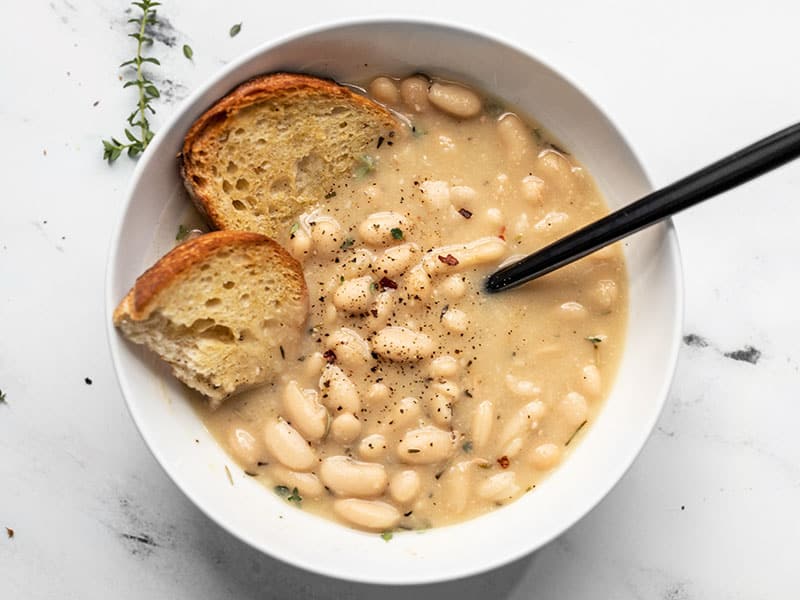
This white bean soup is FAST comfort. You only need 30 minutes and 8 simple ingredients to make 4 hearty servings. It’s a ridiculously cozy, creamy soup, and is rosemary-garlic-forward in the best way.
7. Slow Cooker White Bean Soup
Slow Cooker White Bean Soup

I love dried beans, but I don’t always love the prep that goes into them. But not with this slow cooker white bean soup! There’s no need to pre-soak the beans. You toss everything in the slow cooker, hit “go,” and later you’ve got a thick, filling soup that tastes like you were productive on purpose. It also freezes well!
8. Shrimp and White Bean Stew
Shrimp and White Bean Stew
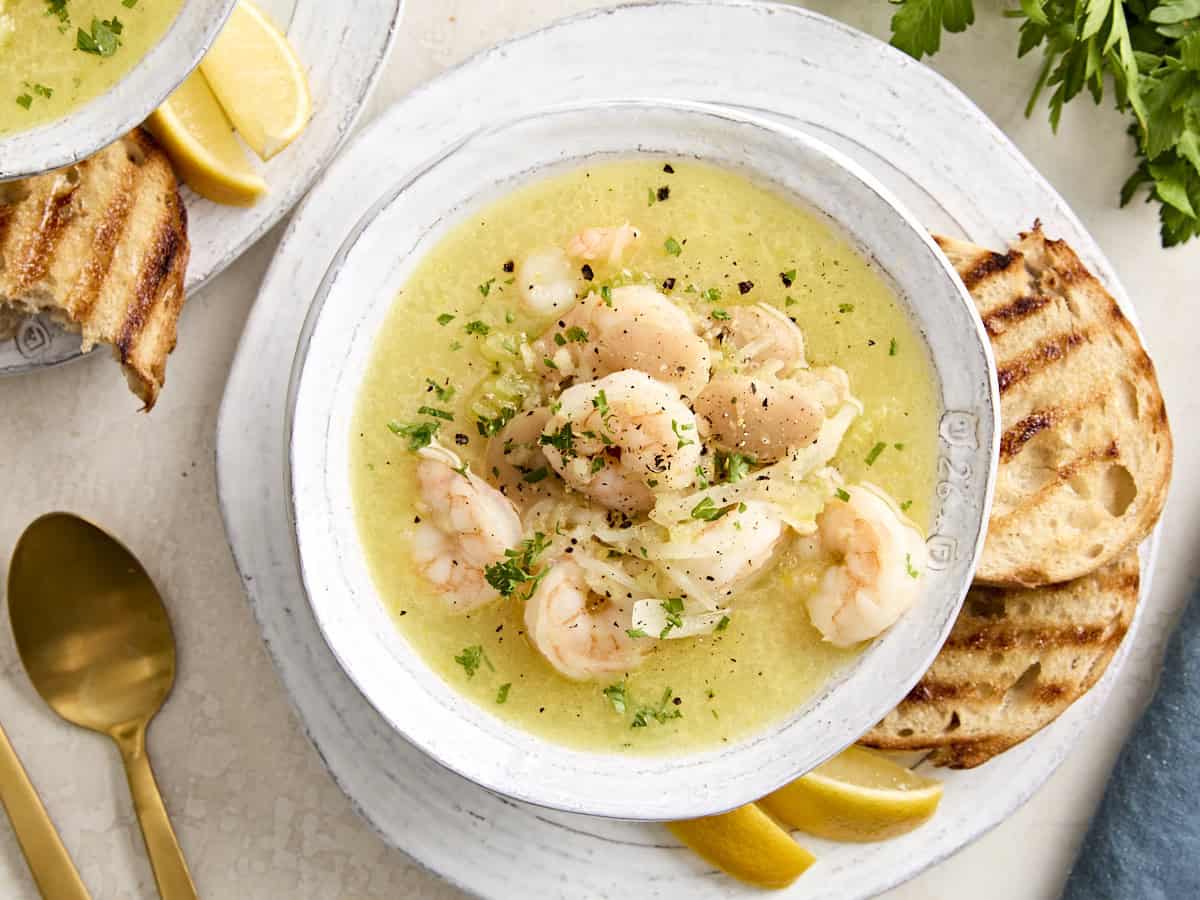
Unlike other stews that take hours, my white bean and shrimp stew is super quick. Frozen peeled shrimp and canned white beans make it extra easy, and the broth is rich and cozy with ingredients you probably already have.
Easy White Bean Salads
These are the salads that actually fill you up. They each have protein, texture, and enough flavor to keep you from hitting the snack cabinet 12 minutes later. They also make the best grab-and-go lunches!
9. Tuna White Bean Salad
Tuna & White Bean Salad
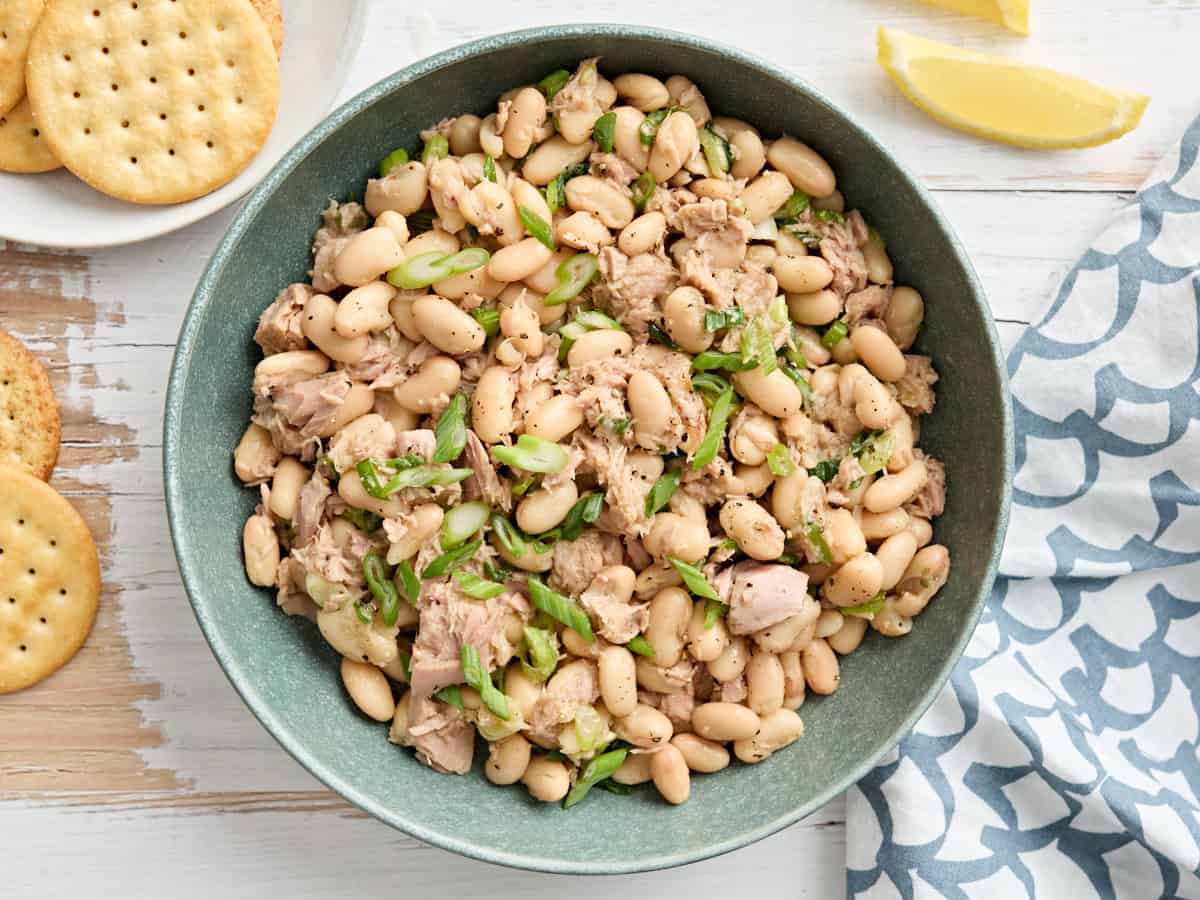
This tuna white bean salad is completely mayo-free, budget-friendly, and very, very filling. It’s just canned white beans, tuna, lemon, olive oil, green onion, and it takes 10 minutes to throw together.
10. Mediterranean White Bean Salad
Mediterranean White Bean Salad
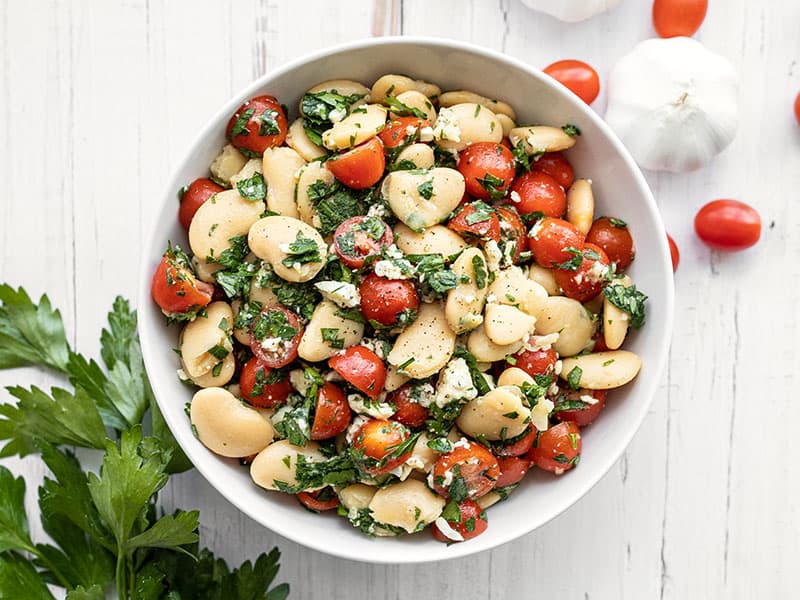
I love simple side dishes that add a little something without creating extra work, and this Mediterranean white bean salad is exactly that. It takes just a few minutes, brings brightness and texture to the plate, and doesn’t over-compete with whatever the main dish is trying to do.
11. Kale, White Bean, and Pesto Salad
Kale White Bean and Pesto Salad
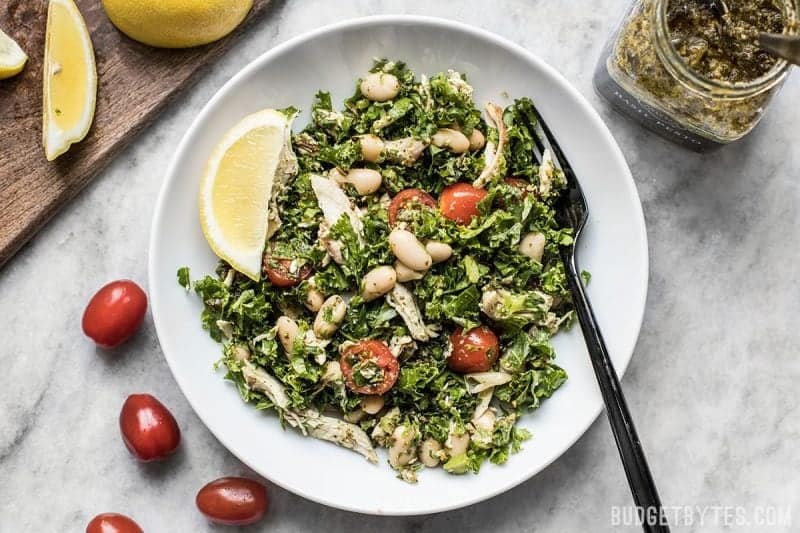
Six ingredients, make-ahead friendly, and genuinely a sneaky way to get people to eat kale? Meet this kale white bean pesto salad. The base version uses kale, cannellini beans, chicken, tomatoes, pesto, and lemon, BUT I often swap the chicken for pan-fried tofu/tempeh for a veggie version!
12. Lemony White Bean Salad
Lemony White Bean Salad
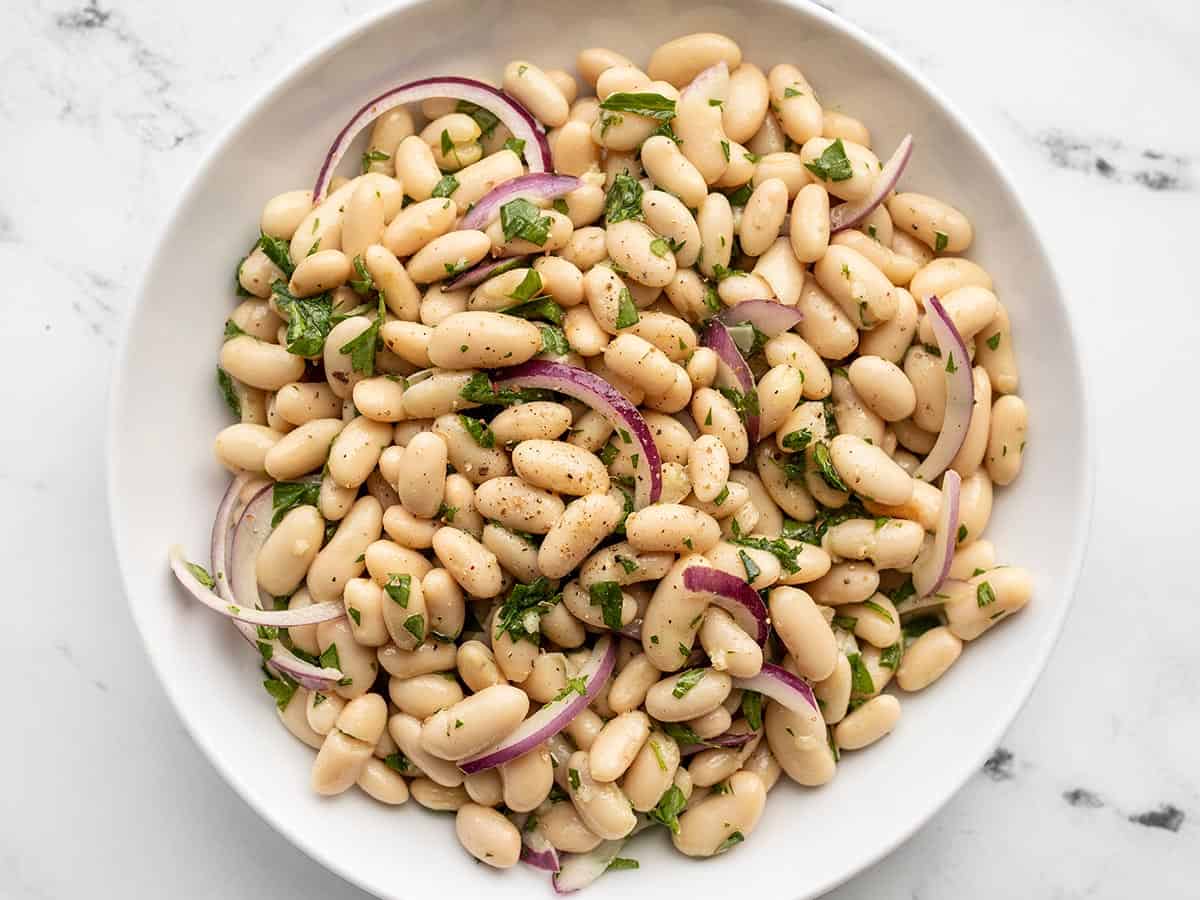
I love simple food, and this lemony white bean salad is a great example. White beans, thinly sliced red onion, parsley, and a quick lemon vinaigrette that tastes bright and fresh. It’s quick, simple, delicious, and so very budget-friendly!
13. Wilted Spinach Salad
Wilted Spinach Salad
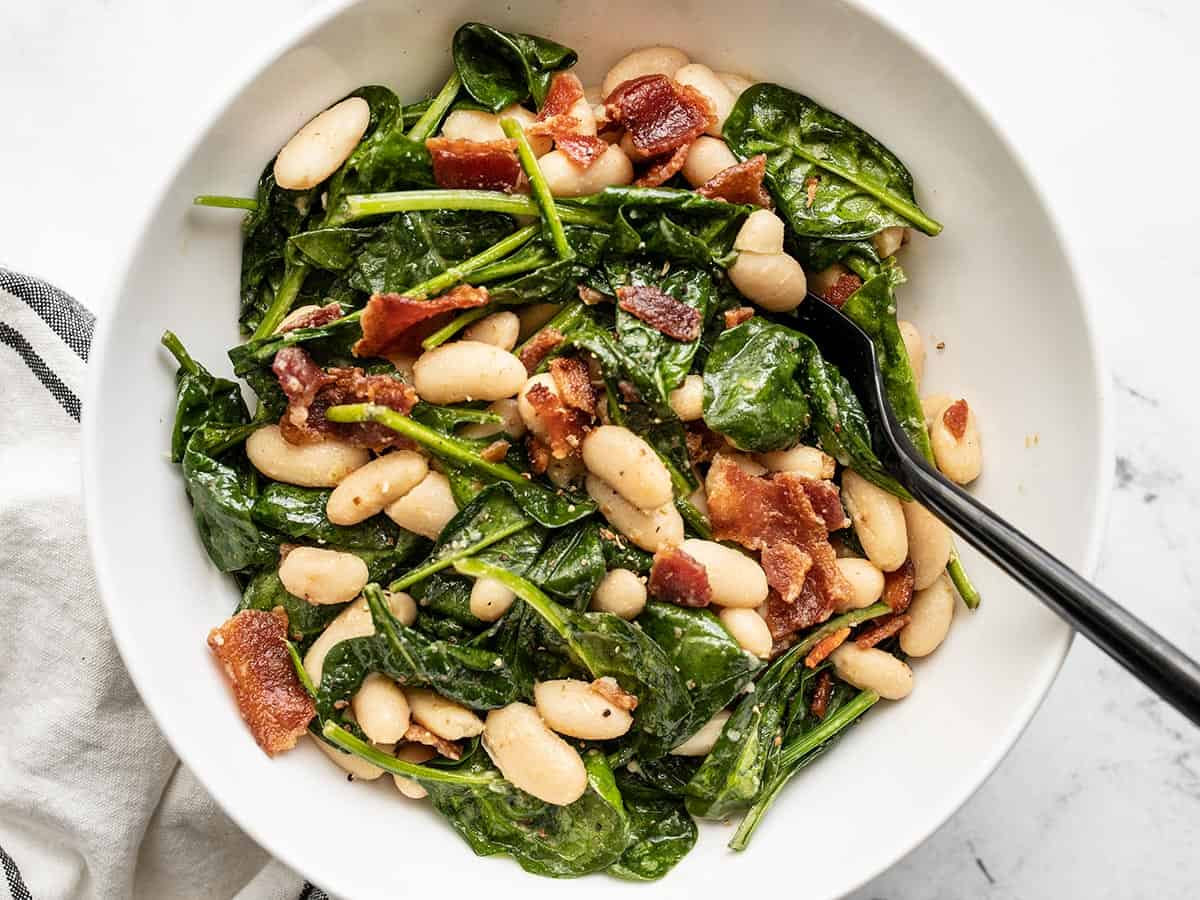
This wilted spinach salad is all about the technique: cook bacon, sauté garlic in the drippings, then stir in beans with vinegar + Dijon + a little sugar to create a warm, tangy dressing right in the skillet. Toss in spinach at the end so it gently wilts (not collapses into sadness). It’s a versatile side that works in summer and winter, which is why it also shows up in our winter salad roundup, too!
Globally Inspired White Bean Recipes
White beans are basically little flavor sponges, so they’re fantastic for bold spices, saucy situations, and anything involving a slice of crusty bread!
14. White Bean Hummus
White Bean Hummus

My family is a hummus family, through and through. This white bean hummus recipe swaps chickpeas for cannellini beans and comes together in a food processor with a short list of staples (think white beans, tahini, olive oil, garlic, lemon). I usually serve it with warm pita or whatever veg I’ve got in the fridge. If there’s any left (rare), it makes a great sandwich spread the next day.
15. Vegan Lasagna
Vegan Lasagna
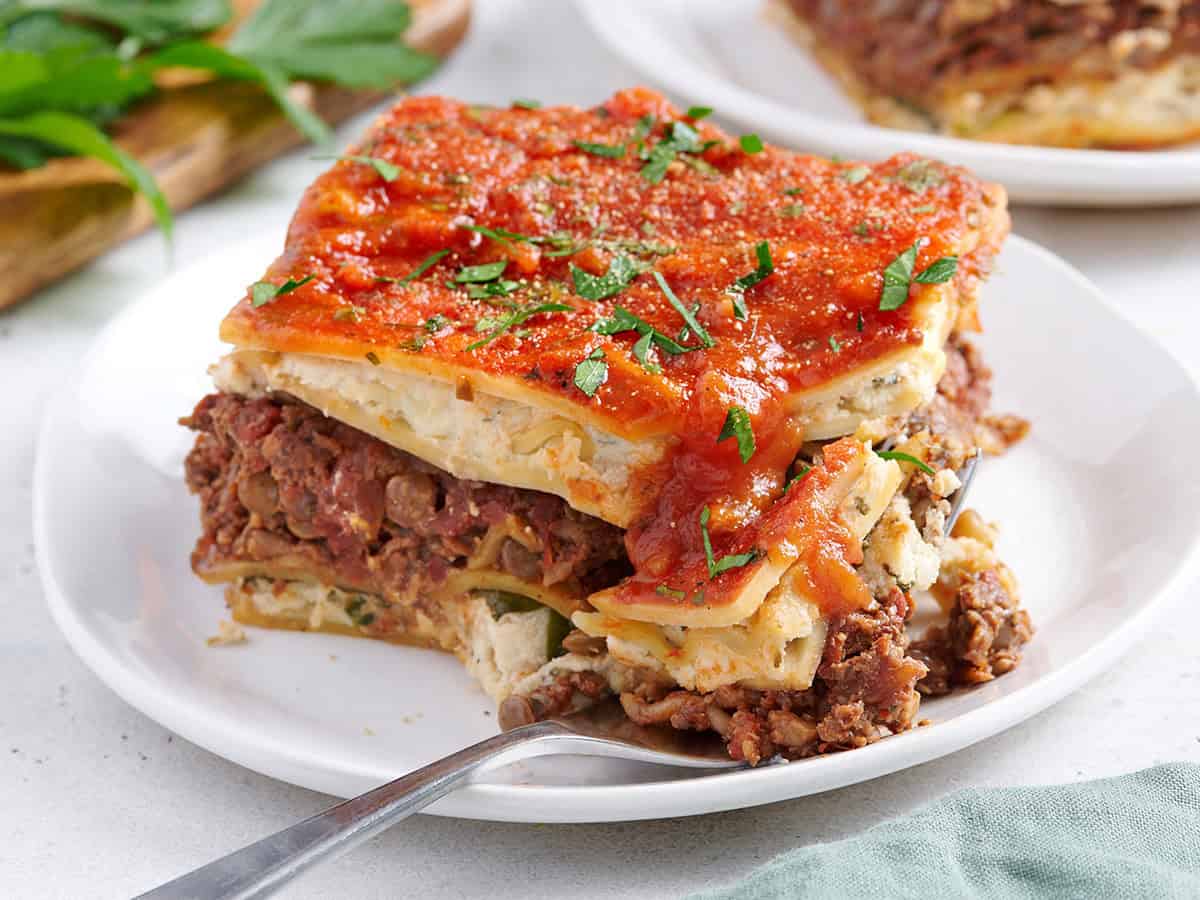
This easy vegan lasagna is pure comfort food, with layers of marinara, noodles, spinach, and a hearty lentil–mushroom filling. And if you’re wondering where the white beans come in, I blend them with tofu to make a creamy dairy-free ricotta, which honestly is my favorite part!
16. Smoky White Bean Shakshuka
Smoky White Bean Shakshuka
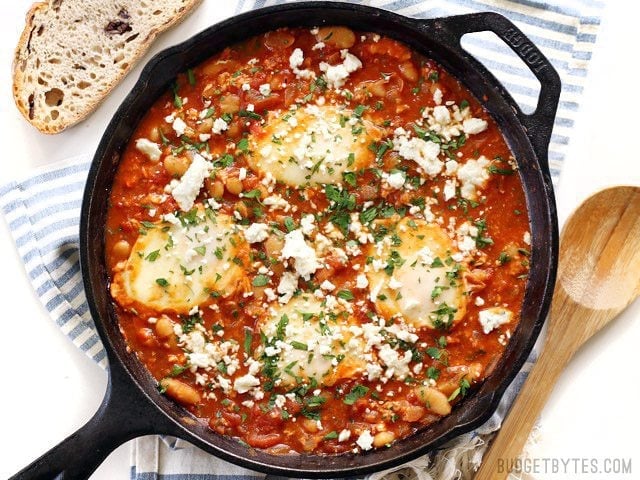
Shakshuka is a breakfast-and-brunch dream, with gently poached eggs in a boldly spiced tomato sauce. This smoky white bean shakshuka adds a hearty punch thanks to cannellini beans, plus a generous hit of smoked paprika for a deep, fire-roasted flavor.
17. White Bean Enchiladas
Spinach White Bean Enchiladas
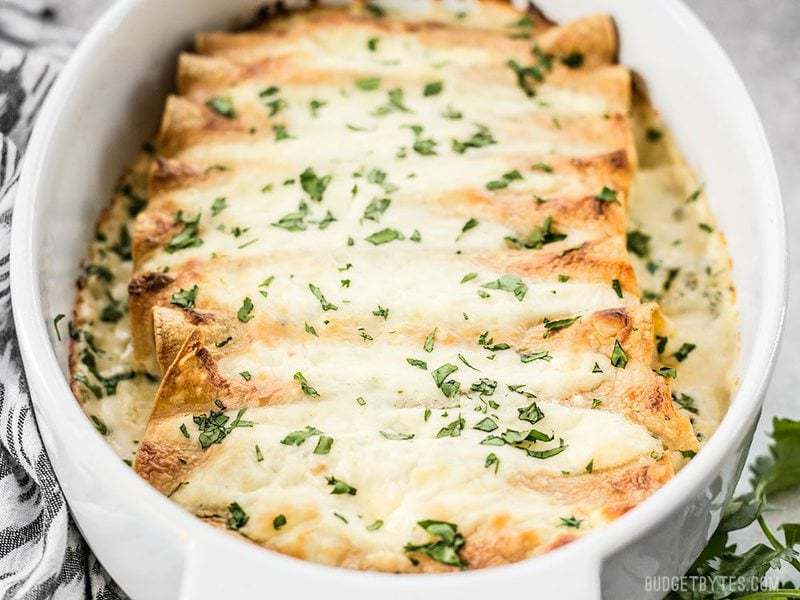
Have you ever swapped out chicken for white beans in a recipe? No? Well, let me tell you, it works! These white bean enchiladas are creamy and satisfying, with a super simple spinach-and-white-bean filling. And yes, you can absolutely swap in cooked chopped chicken if you want a meaty version. But I promise the bean version is the way to go!
18. White Bean Quesadillas
Creamy White Bean and Spinach Quesadillas
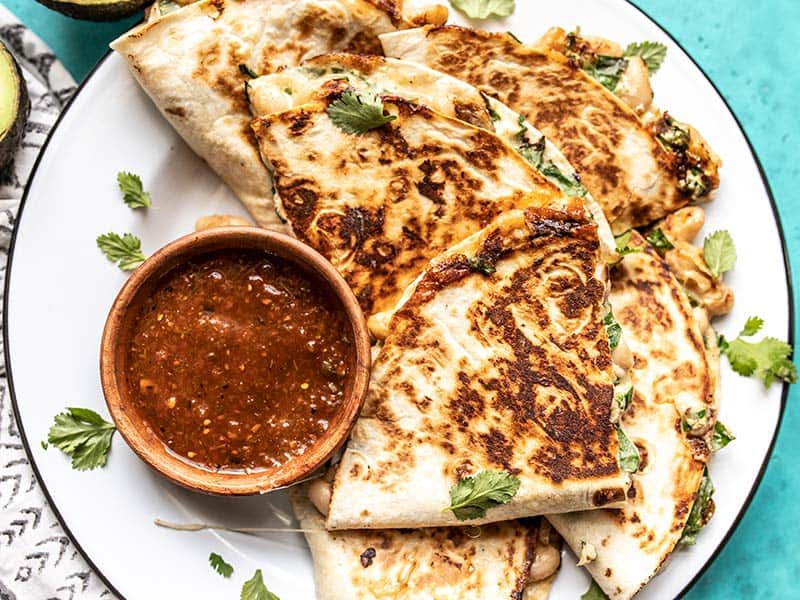
These 20-minute vegetarian white bean quesadillas are wildly creamy thanks to the white beans, sour cream, and pepper jack situation. I love serving these with a tangy salsa to cut through the richness. They’re too good and too easy to skip!
More Recipe Roundups


The post 18 White Bean Recipes appeared first on Budget Bytes.
from Budget Bytes https://ift.tt/aKVeGOl


