If there’s one recipe that takes me right back to busy weeknights as a kid, it’s Pizza Casserole. It combines the comfort of a cozy baked pasta with all the fun flavors of Friday pizza night. Think tender pasta coated in rich tomato sauce with savory sausage, peppers, mushrooms, and plenty of golden, melty mozzarella, and pepperoni and olives on top. My one-skillet version makes six servings for about $2 each, and is ready in just over 30 minutes. It’s kid-friendly, crowd-friendly, and just plain fun to eat!

One-Pan Pizza Pasta Casserole
I’ve taken my mom’s classic pizza casserole and made it even easier. It was always a humble dish that helped get our family fed quickly, but it also happened to be one of my absolute favorites. In my version here, the pasta cooks right in the tomato sauce, so there’s no separate pot of water to boil and one less dish waiting for you afterward. As it simmers, the pasta soaks up all that flavor before the skillet heads into the oven for a bubbly, lightly golden cheesy finish.
It still tastes just as nostalgic as I remember, only now the cleanup is a whole lot easier! I also love that pretty much any pasta sauce works here. If you’ve got a batch of homemade marinara in your freezer, go ahead and use it! Or just grab whatever jar of pasta sauce is hanging out in your pantry for an easy win. You can also pile on any pizza toppings your family loves. Go full supreme (like I have here), keep it simple with cheese, or even Hawaiian (I won’t judge!). However you build this dish, I already know it’ll have you and yours coming back for more!
Recipe Success Tips
- Use a large and deep skillet. There’s a lot going into this pizza casserole recipe, so I use a large skillet with plenty of room for the pasta, sauce, vegetables, sausage, and toppings. A crowded skillet makes it harder to stir without sauce sloshing over the sides! I also prefer using a skillet with a fitted lid, but I’ve found that tightly covering it with aluminum foil works just as well.
- Make sure the rotini stays submerged in the sauce. The pasta cooks by absorbing the liquid around it, so any pieces sitting above the sauce may stay firm or cook unevenly. Stir occasionally to prevent sticking, then replace the lid quickly to hold in the heat and steam.
- Check the pasta before adding the cheese. It should be al dente (tender with a slight bite). The pasta will continue cooking in the oven, so you don’t want it completely soft at this stage. If it’s still too firm but most of the liquid has reduced, I’d stir in a small splash of water, cover, and let it simmer for a few more minutes. Add the toppings once the texture of your pasta is right!

Skillet Pizza Casserole
Equipment
- Large/Deep Oven-Safe Skillet with a Lid
Ingredients
- 1 lb. ground Italian sausage $3.62*
- 1 small yellow onion diced, (145g) $0.70
- 1 green bell pepper diced, (145g) $0.86
- 8 oz. mushrooms sliced, (120g) $2.04
- 3 garlic cloves minced, $0.22
- 8 oz. rotini pasta uncooked, $0.54**
- 24 oz. pasta sauce $1.58***
- 1 cup water $0.00
- 1 tsp Italian seasoning $0.04
- ¼ tsp crushed red pepper flakes optional, $0.01
- ¼ tsp salt $0.02
- ¼ tsp black pepper freshly cracked, $0.04
- 1½ cups mozzarella cheese shredded, $1.47
- 25 pepperoni slices 50g, $0.85
- ¼ cup black olives sliced, (28g) $0.32
Instructions
- Gather and prep all ingredients. Preheat the oven to 375°F.
- Heat a large oven safe skillet over medium heat and add sausage and cook for about 5-7 minutes until browned, breaking it up with a spoon.
- Stir in onion, bell pepper, mushrooms, and garlic. Cook for 4-5 minutes until softened and fragrant.
- Stir in the uncooked rotini pasta, pasta sauce, water, Italian seasoning, red pepper flakes, salt, and pepper. Make sure pasta is mostly submerged in sauce.
- Reduce heat to low, cover****, and simmer for 10-12 minutes until pasta is al dente and sauce is mostly absorbed. Make sure to stir occasionally to keep pasta from sticking.
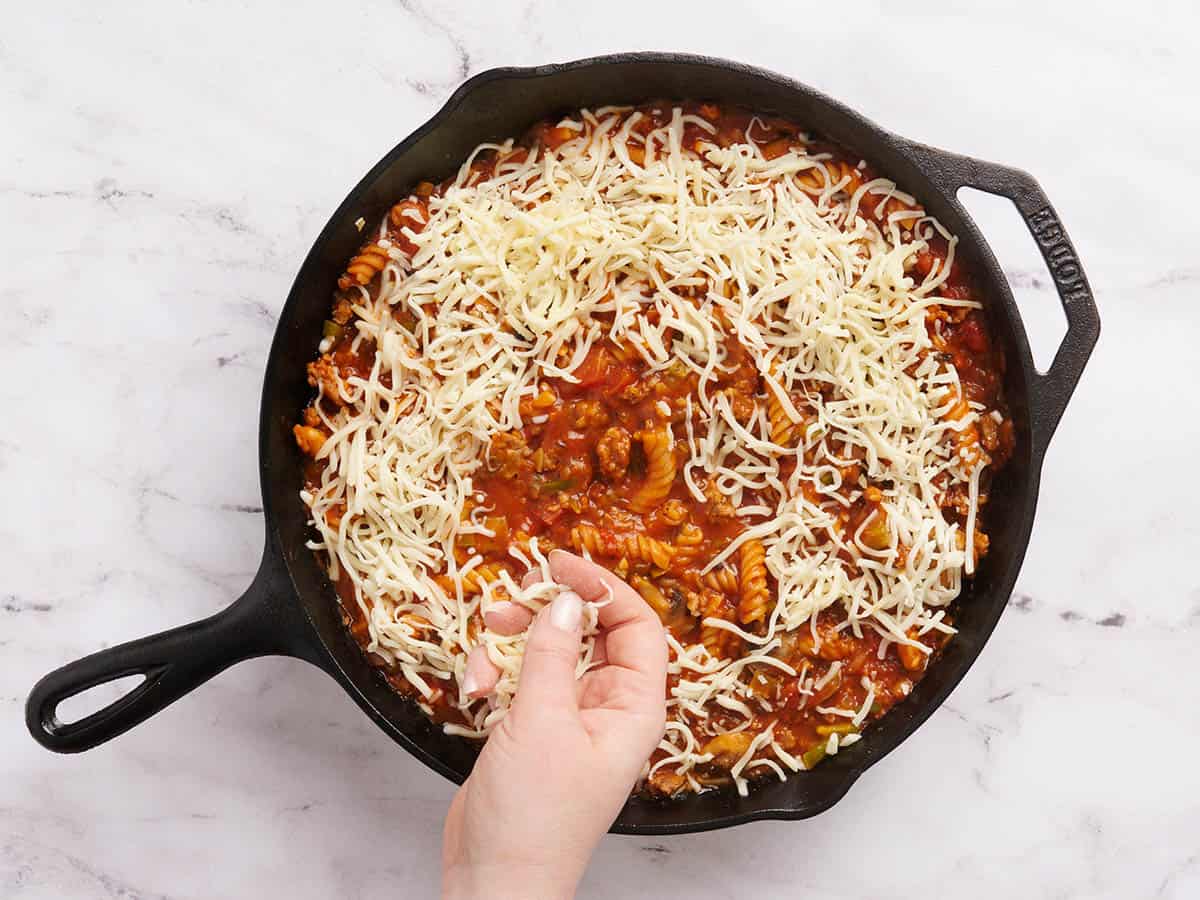
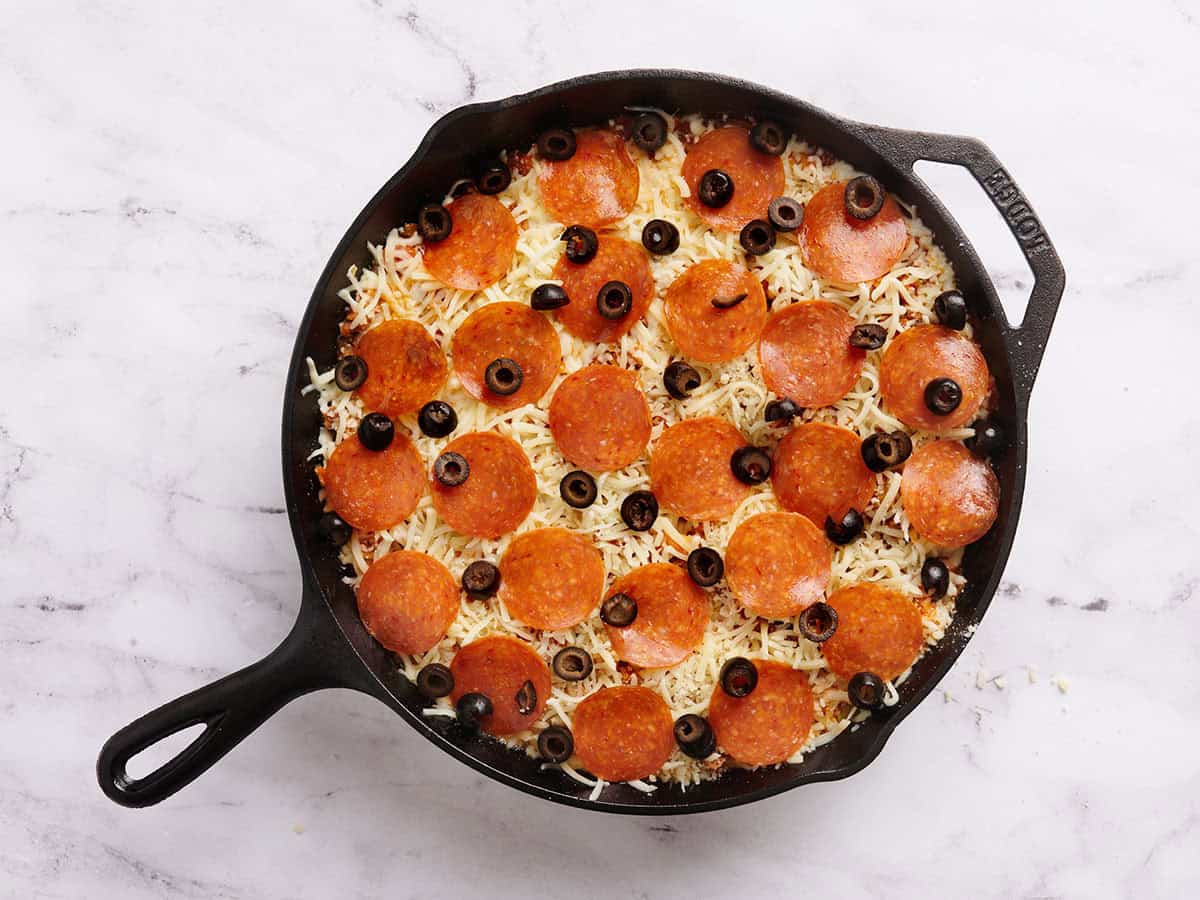
- Sprinkle mozzarella evenly over the top. Arrange pepperoni slices and sprinkle with black olives. Bake in the oven for 10-15 minutes uncovered, until the top is browned and the cheese is melted and bubbly.
- Let sit for 5 minutes before serving for the casserole to set. Garnish with fresh basil and Parmesan (optional, if you've got them) and enjoy!
See how we calculate recipe costs here.
Notes
Nutrition
How to Make Skillet Pizza Casserole Step-by-Step Photos
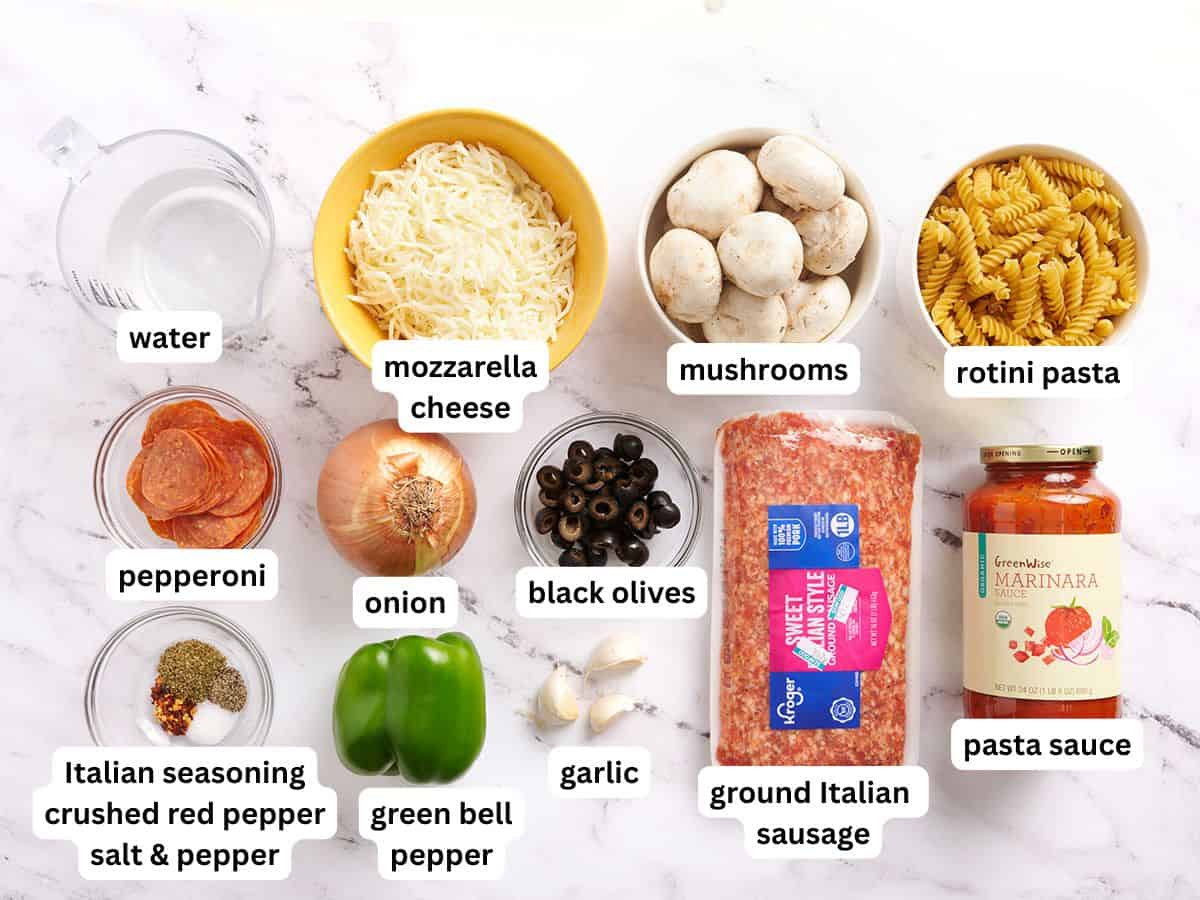
Gather all your ingredients and preheat the oven to 375°F.
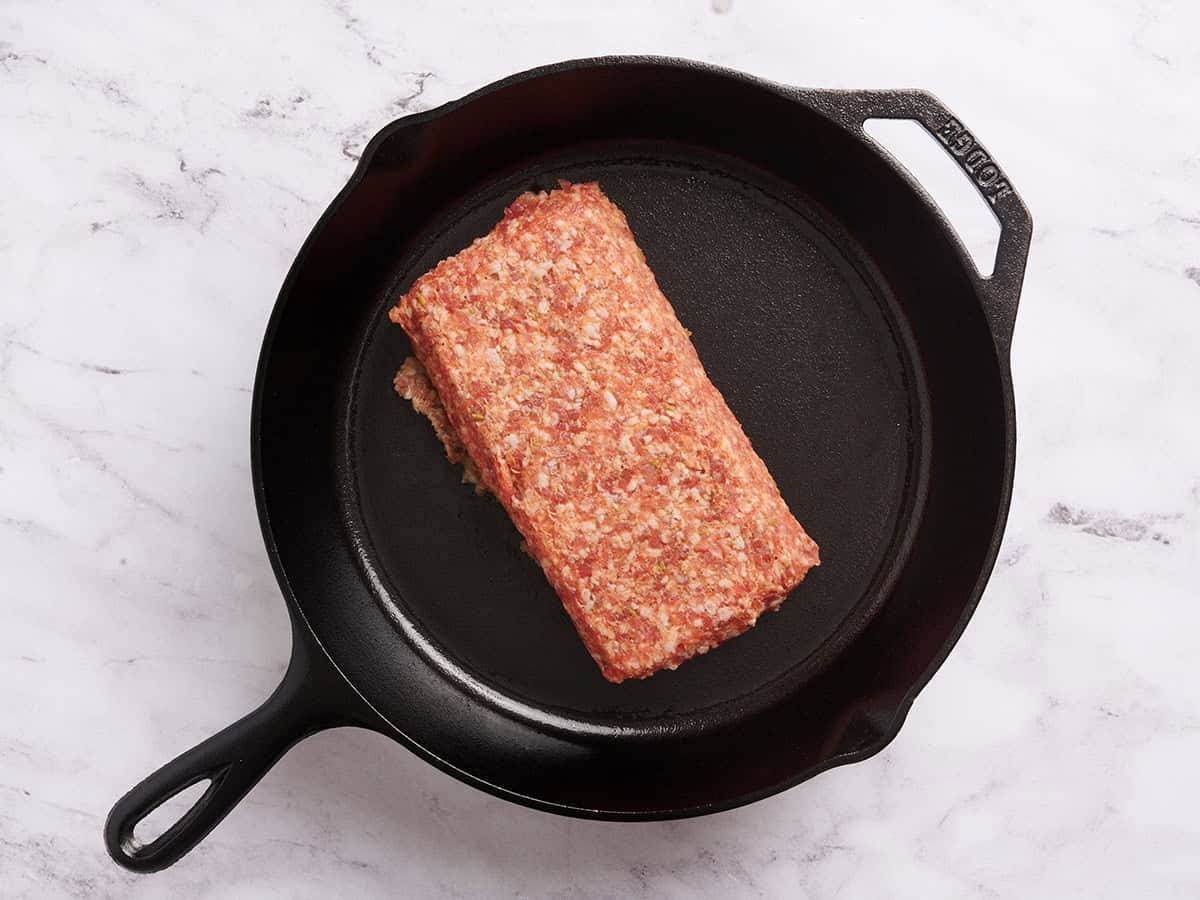
Brown the sausage: Heat a large, deep, oven-safe skillet over medium heat. Add 1 lb. ground Italian sausage and cook for 5-7 minutes, breaking it into small crumbles as it cooks. The sausage should be fully browned with no pink bits left.
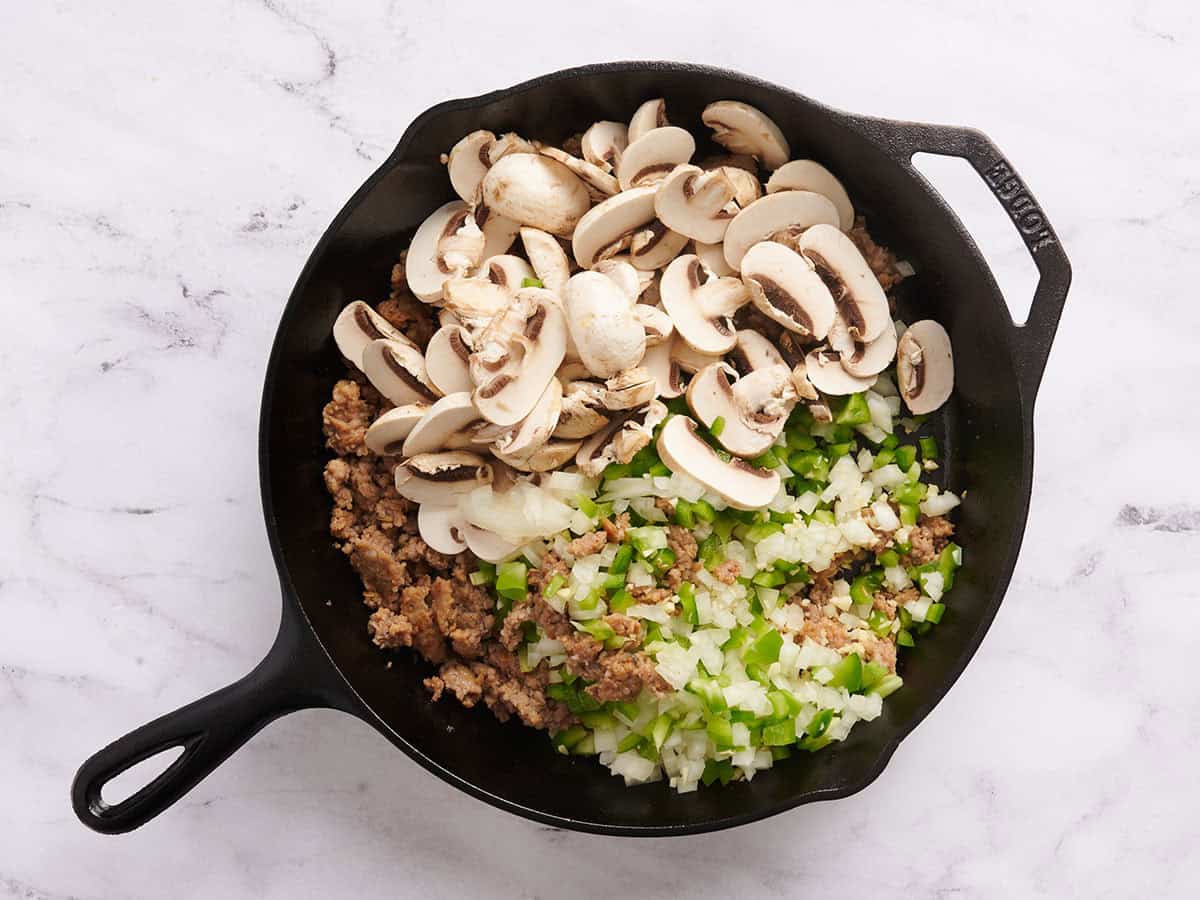
Cook the veggies: Add 1 diced onion, 1 diced green bell pepper, 8 oz. sliced mushrooms, and 3 cloves minced garlic. Cook for 4-5 minutes, stirring often, until the onion looks translucent, the pepper begins to soften, and the mushrooms have reduced in size. The garlic should also smell fragrant.
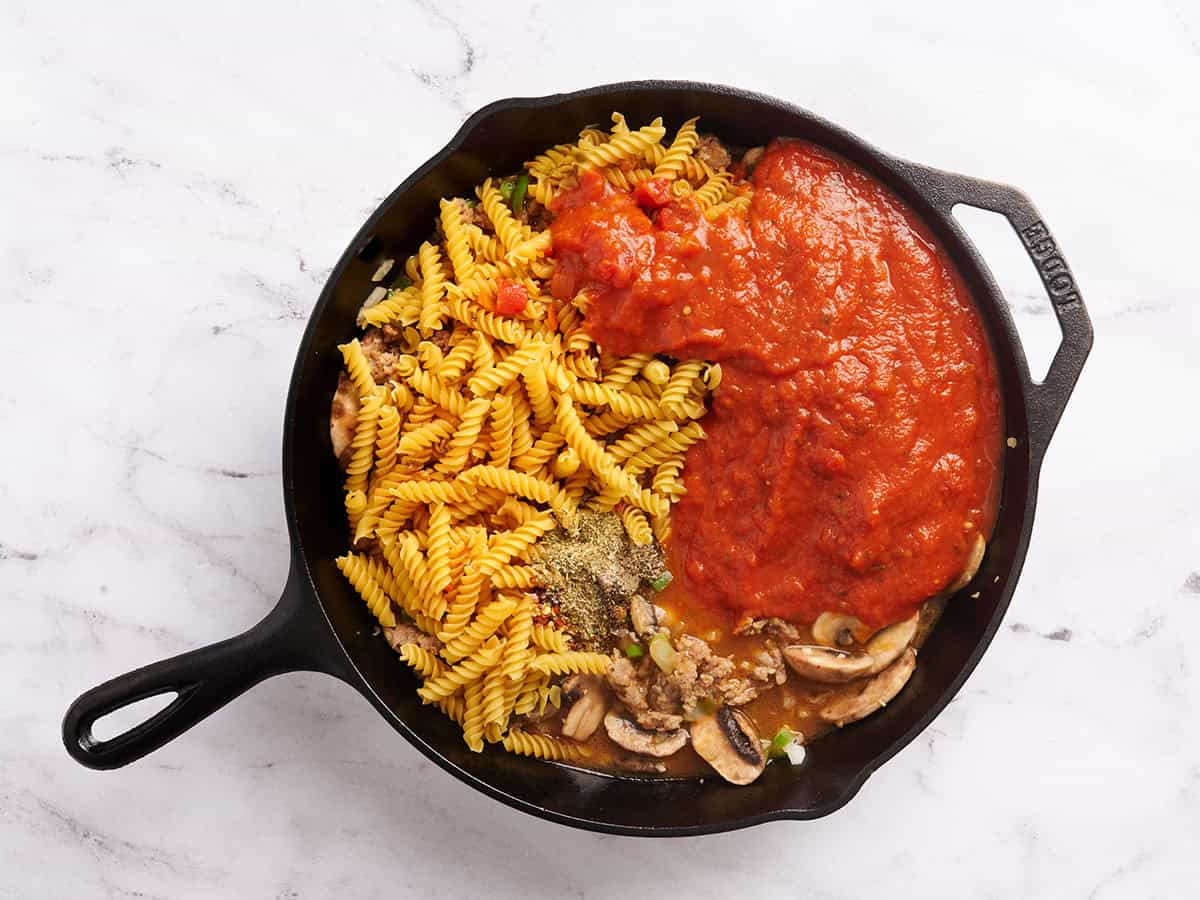
Add the pasta and sauce: Stir in 8 oz. uncooked rotini, 24 oz. pasta sauce, 1 cup water, 1 tsp Italian seasoning, ¼ tsp crushed red pepper flakes, ¼ tsp salt, and ¼ tsp black pepper. Stir well, scraping along the bottom of the skillet, then press the rotini down so it’s submerged in the sauce.
Once the sauce begins bubbling gently, reduce the heat to low and cover the skillet with a fitted lid or tightly with aluminum foil. Simmer for 10-12 minutes, stirring every few minutes to prevent the pasta from sticking or cooking unevenly. Replace the lid quickly each time to hold in the heat and steam.
Check the pasta and add the cheese: Taste a piece of rotini before adding the cheese. It should be al dente, meaning tender with a slight bite, and the sauce should still be loose enough to keep everything saucy. If the pasta is too firm and most of the liquid has disappeared, stir in a small splash of water, cover, and simmer for a few more minutes. If the pasta is ready but the sauce looks too loose, simmer uncovered briefly to let it reduce.
Now sprinkle 1½ cups shredded mozzarella evenly over the pasta. Arrange about 25 pepperoni slices over the cheese, then scatter ¼ cup sliced black olives on top.
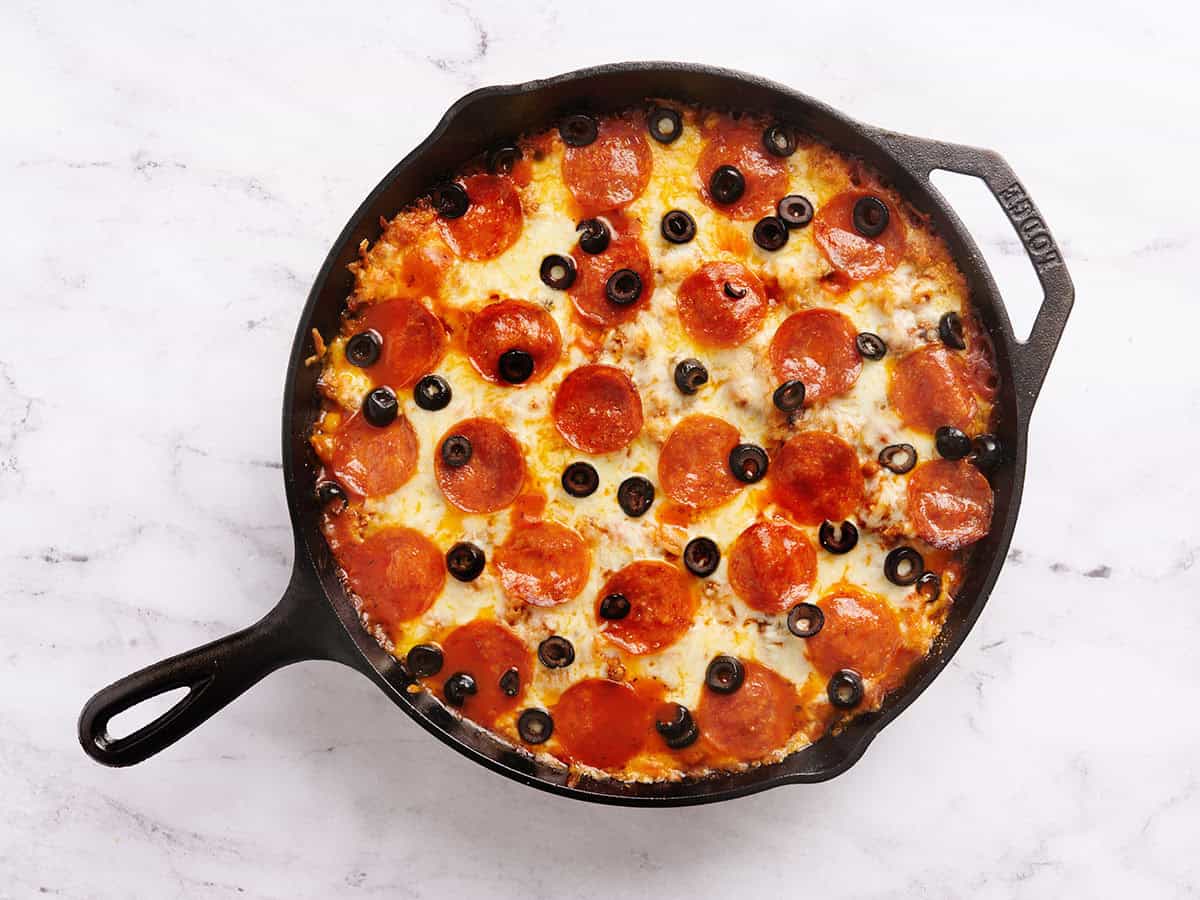
Bake the casserole: Transfer the uncovered skillet to the oven and bake for 10-15 minutes, or until the cheese is completely melted and bubbly with lightly golden spots. The sauce should also be bubbling gently around the edges.
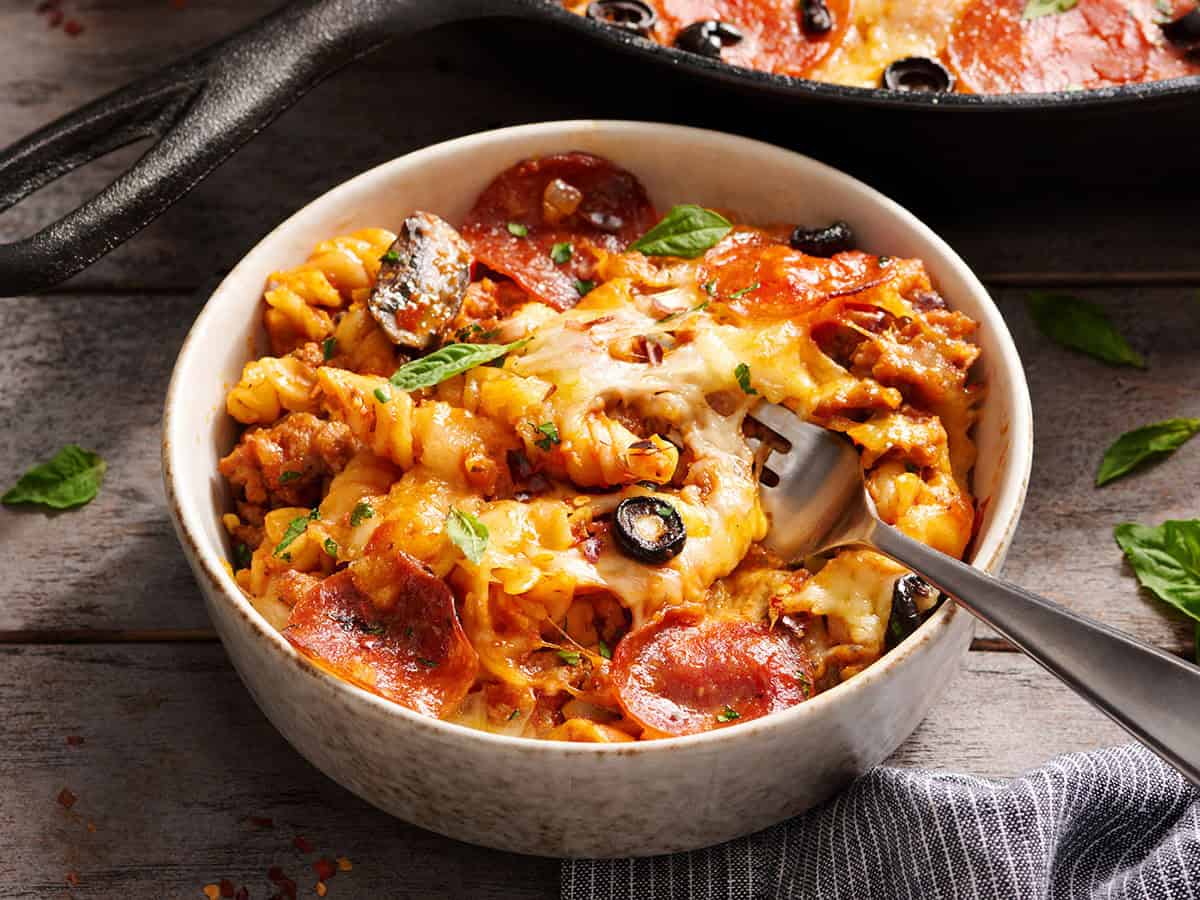
Let it set and serve: Carefully remove the skillet from the oven and let your pizza casserole sit for 5 minutes. This gives the sauce time to thicken slightly and makes it easier to scoop and serve. Garnish with fresh basil and grated Parmesan (optional), then enjoy!
Serving Suggestions
This skillet pizza casserole is plenty filling on its own as it’s pretty much a full meal in one pan. You can definitely add some greens to your plate to finish things off, though! I like to serve it with a crisp simple side salad tossed in a light balsamic dressing. The tangy dressing keeps the meal feeling fresh and goes well with the rich tomato sauce and melty cheese. Or you add some garlic bread or cheesy breadsticks when you want to fully lean into pizza night. They’re also perfect for scooping up any sauce left behind!
Right before serving, I like to garnish my serving with fresh basil, grated Parmesan, or a drizzle of hot honey for a little sweet heat. These are all optional, but they really add to the pizza flavor! I also think it would be fun to set out additional toppings (extra olives, banana peppers, crushed red pepper, fresh herbs, whatever you’ve got) so everyone can customize their portion how they like.
Make it Ahead!
To get a head start, prepare your pizza casserole all the way through to adding the cheese, pepperoni, and olives, but don’t bake it yet. Cover it tightly and refrigerate for up to 24 hours. When you’re ready to eat, bake it straight from the fridge, adding about 5-10 minutes to the cooking time since it’ll be cold.
Storage & Reheating
Let any leftovers cool before storing in an airtight container in the fridge for up to 3-4 days. The pasta will soak up more of the sauce as it sits, but leftovers of this casserole are delicious regardless!
Reheating
I usually microwave individual portions until heated through. I’ll sometimes add a splash of water to loosen the sauce if needed. You can also reheat this recipe covered in a 350°F oven until warmed through (about 15-20 minutes).
Freezing
Cool the pizza casserole completely, then transfer to a freezer-safe container. Freeze for up to 2 months. Thaw overnight in the refrigerator before reheating. Just note the pasta and veggies will be softer after thawing, so only freeze this recipe if you don’t mind those texture changes.
Love Pizza Flavors? Try These Recipes Next:
- Got leftover toppings from this casserole recipe? Add them to a Pizza Pasta Salad for lunch the next day!
- These Pizza Melts combine pizza and grilled cheese in one crispy, cheesy 15-minute lunch.
- I love how Calzones are endlessly customizable with whatever pizza toppings fit your budget.
More One-Pot Pasta Recipes

The post Skillet Pizza Casserole appeared first on Budget Bytes.
from Budget Bytes https://ift.tt/UhHuCXd