Do you want to up your potato game with a recipe people may have never seen before? Introducing Hasselback Potatoes! It’s everything I love about roasted potatoes, just a little fancier. Whole potatoes get partially sliced into thin layers, which fan open as they bake for a budget potato side that’s crispy in all the right places and tender all the way through. And don’t worry, I’m sharing a simple tip to make the slicing part easier (spoiler: chopsticks!) This Hasselback potato recipe lets you show off a little, put your knife skills to the test, and still end up with a side dish that feels totally doable.

Easy Baked Hasselback Potatoes
Hasselback potatoes are roasted potatoes made with 1/8-inch cuts all the way down the spud, but not cutting all the way through. These magnificent slits will open as the potato roasts and become crispy bites of goodness. Nervous about slicing them? I’ve got a hack for you. Place chopsticks on either side of the potato to help guide your knife and prevent you from cutting down all the way to the cutting board. Slather the potatoes in oil, kosher salt, pepper, and garlic powder, then place them in a HOT oven and watch the magic happen. The tiny cut edges get crispy, delicious, and irresistible. These Hasselback potatoes make the BEST side dish for the holidays, dinner parties, or any meal without costing much at all!
Recipe Success Tips
- Russets are budget-friendly and reliable. I think russets are the best potatoes to make Hasselback potatoes because they’re large, sturdy, roast up well, and are cheap. When I go shopping for this recipe, I look for long, uniform, oval-shaped potatoes so they lie flat and cook more evenly. But almost any potato can Hasselback, including Yukon Golds and even sweet potatoes. Just keep in mind that the cooking time will vary depending on the size and type.
- Use something to stop your knife. Using chopsticks or similar-sized kitchen utensils (not more than 1 cm) can help guide the knife and prevent you from cutting all the way through the potatoes. That said, it’s totally fine if you do cut all the way through! It’ll still taste delicious.
- Try other seasonings. I kept this recipe extremely simple with salt, pepper, and garlic powder. Feel free to add any dried herbs or spices like onion powder, paprika, chili powder, dried rosemary, thyme, or your favorite seasoning blend.
- Roast them in a hot oven. I roast my Hasselback potatoes at a high temperature of 425°F. This helps them get crispy and helps prevent them from steaming and becoming mushy.
- Baste halfway through. I like to brush the potatoes with the remaining oil mixture halfway through baking because that’s when the layers start to open up. It helps the oil and seasonings get deeper into all those little slices. You can absolutely baste them more than once if you want even more flavor.
- Have fun and customize your Hasselback potatoes. In the past, I’ve tucked cheese, herbs, bacon, or onions between the layers of the potatoes near the end of the cooking process! Anything you love on a baked potato will go great here. I’ve also shared some topping ideas to try below!

Hasselback Potatoes
Equipment
-
Sheet Tray
-
Chopsticks
-
Small Bowl
-
Pastry Brush
Ingredients
- 4 large russet potatoes washed and dried (about 3.5 lbs, 1620g) $3.14
- ¼ cup vegetable oil 2oz., $0.17*
- 1 tsp kosher salt divided, $0.04**
- ½ tsp black pepper divided, (freshly cracked) $0.08
- ½ tsp garlic powder $0.02
Instructions
-
Gather and prepare all ingredients. Preheat the oven to 425°F and line a sheet tray with parchment paper. Wash and dry the potatoes.
-
Lay the potatoes with their flattest side on the cutting board. Place a chopstick or similar-sized kitchen utensil lengthwise on either side of the potato.
-
Using a sharp knife, make several 1/8-1/4 inch cuts along the potato, avoiding cutting all the way down and through the potato. The chopsticks should help prevent you from fully cutting the potato.***
-
In a small bowl, whisk together the oil, salt, pepper, and garlic powder.
-
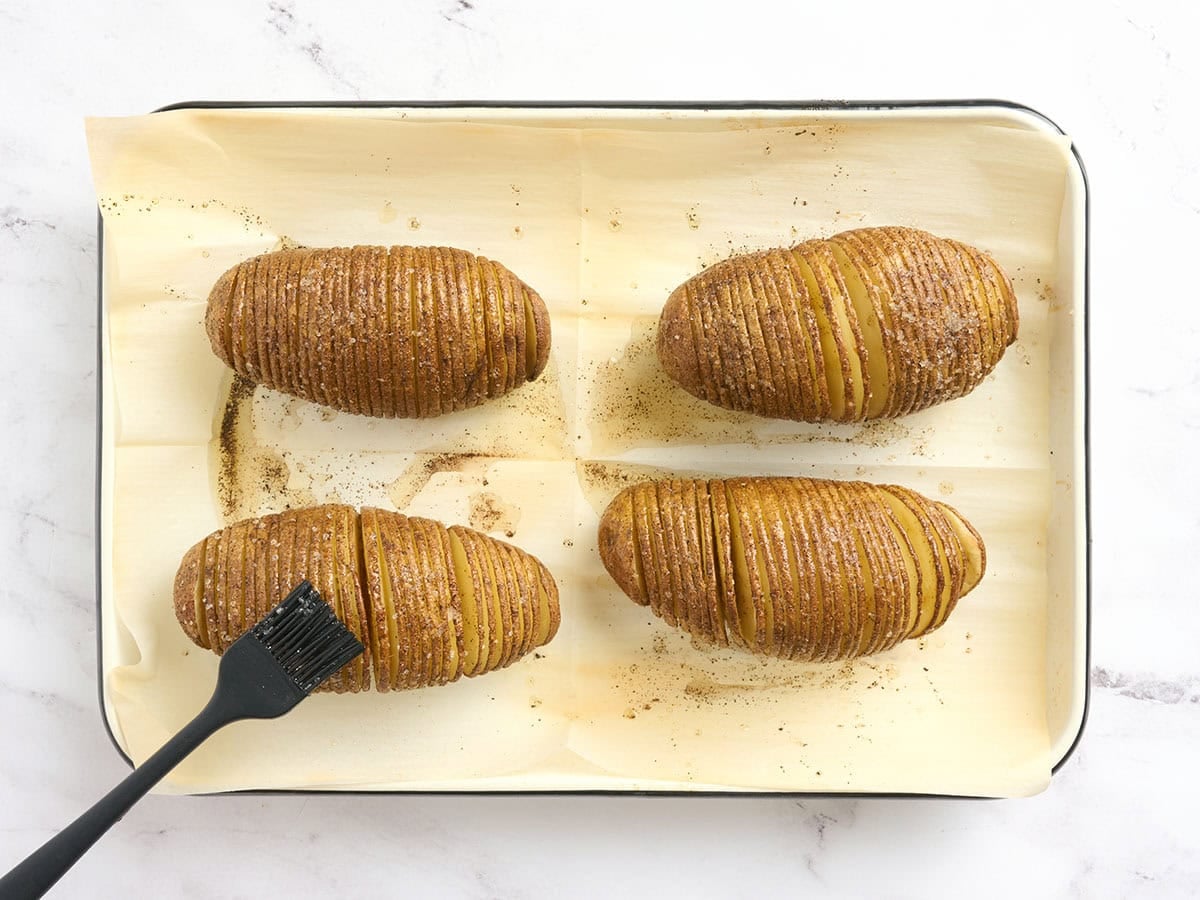
Place the potatoes on the sheet tray. Brush the potatoes all over with about half of the oil blend, making sure to stir the oil to ensure you’re getting the seasoning on the brush.
-
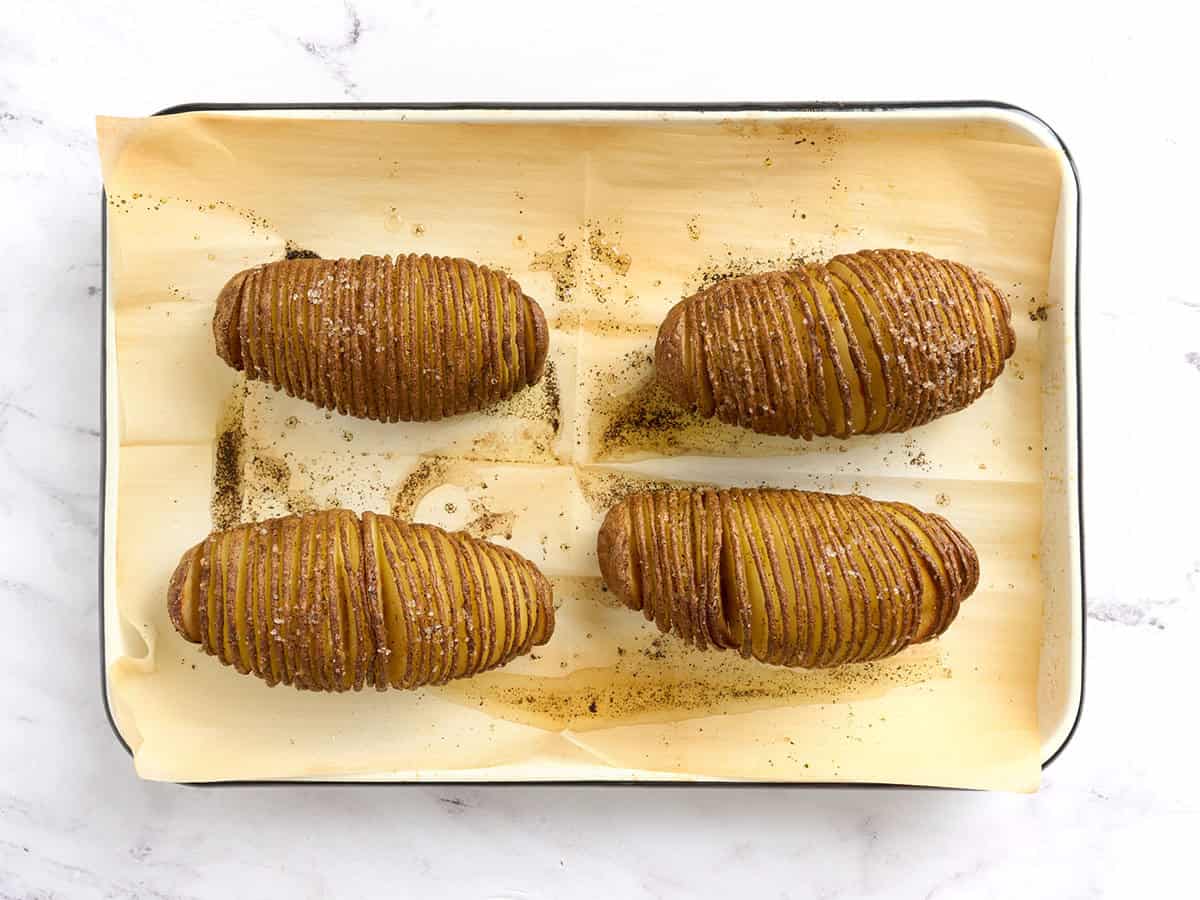
Bake for 35 minutes, until potatoes start to get tender and the cuts on the potatoes start to separate. Pull the sheet tray from the oven and baste the potatoes with the remaining oil again, trying to get in between the layers. Make sure to get all of the seasoning from the bowl. Return to oven for an additional 35 minutes.****
-
Test the middle of the potatoes with a paring knife, fork, or toothpick for doneness. Serve warm or at room temperature and garnish with your favorite toppings.
See how we calculate recipe costs here.
Notes
Nutrition
how to make Hasselback Potatoes Step-by-Step Photos
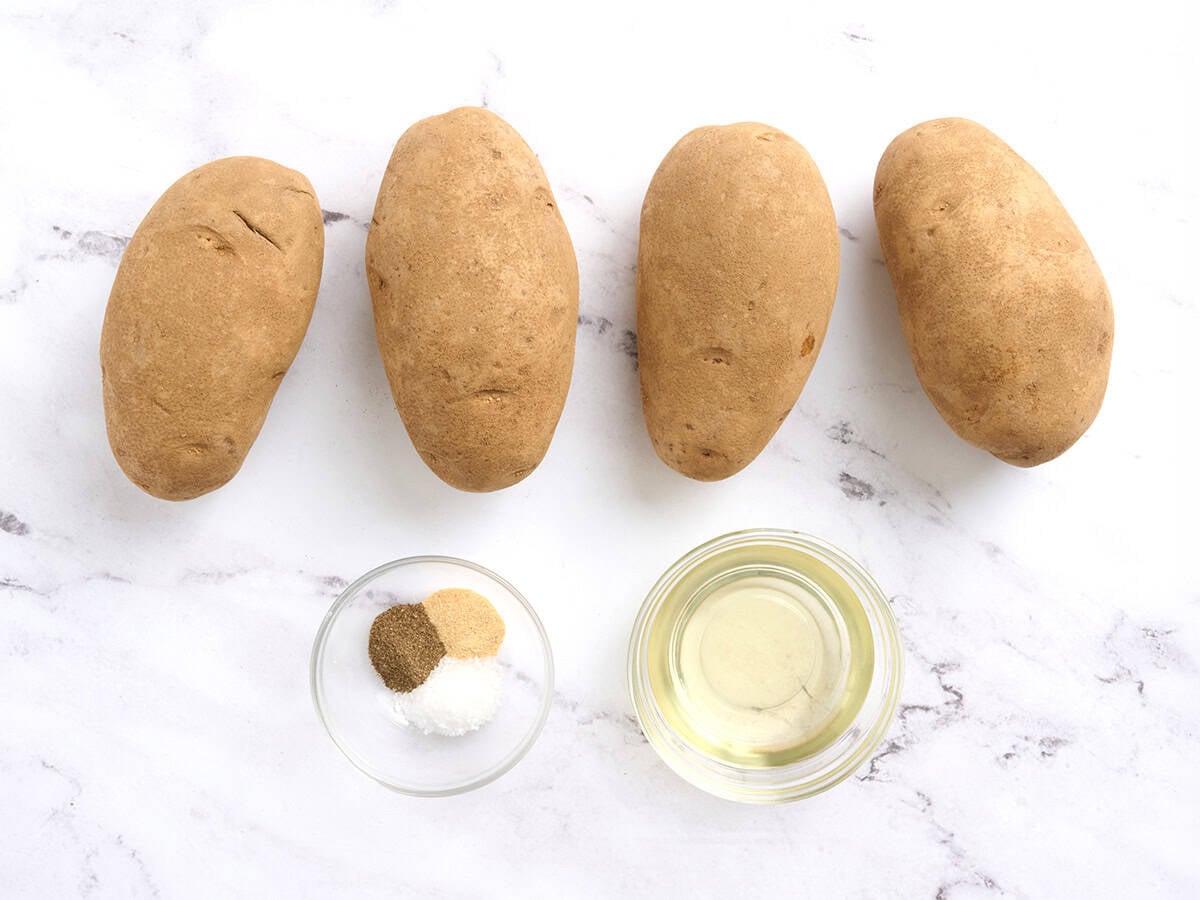
Gather all of your ingredients and preheat the oven to 425°F. Line a sheet pan with parchment paper.
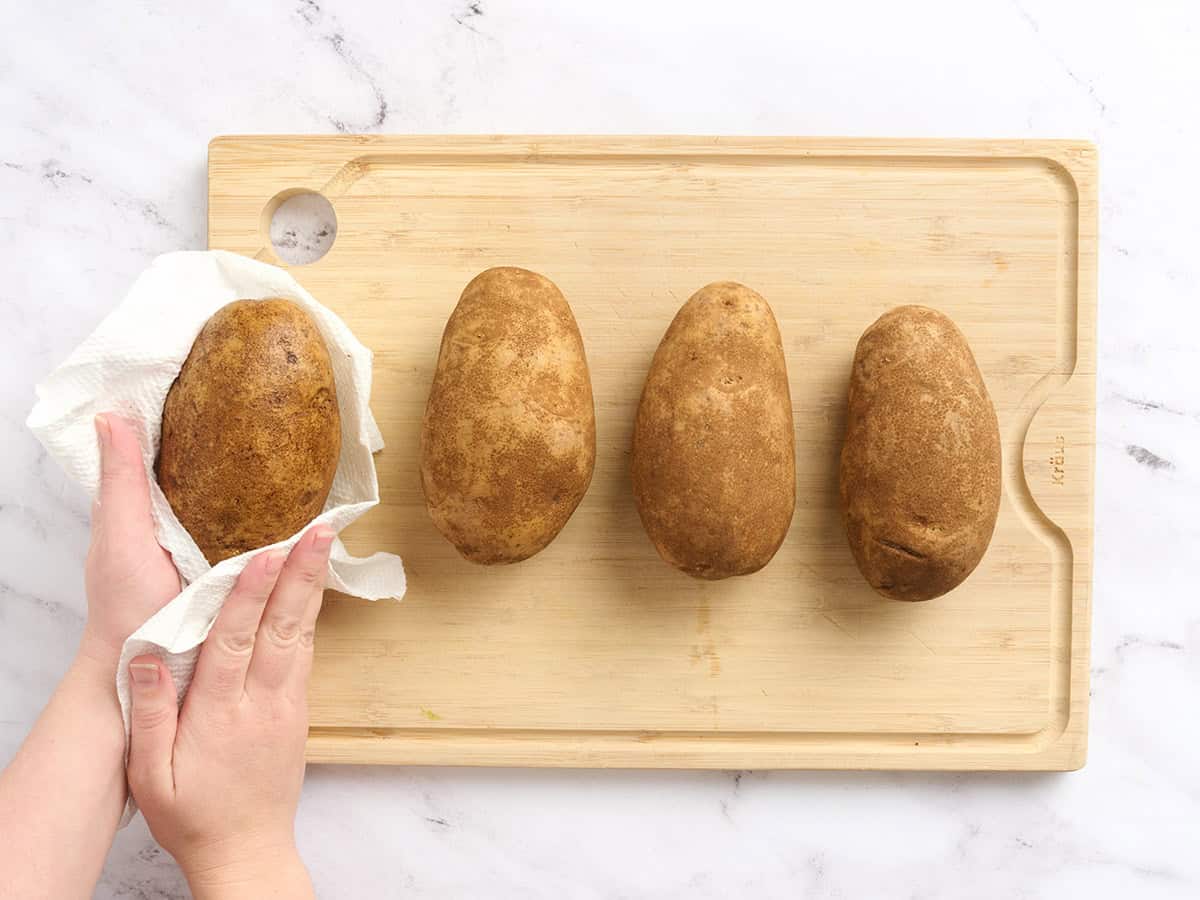
Prep the potatoes: Wash and dry 4 large russet potatoes well.
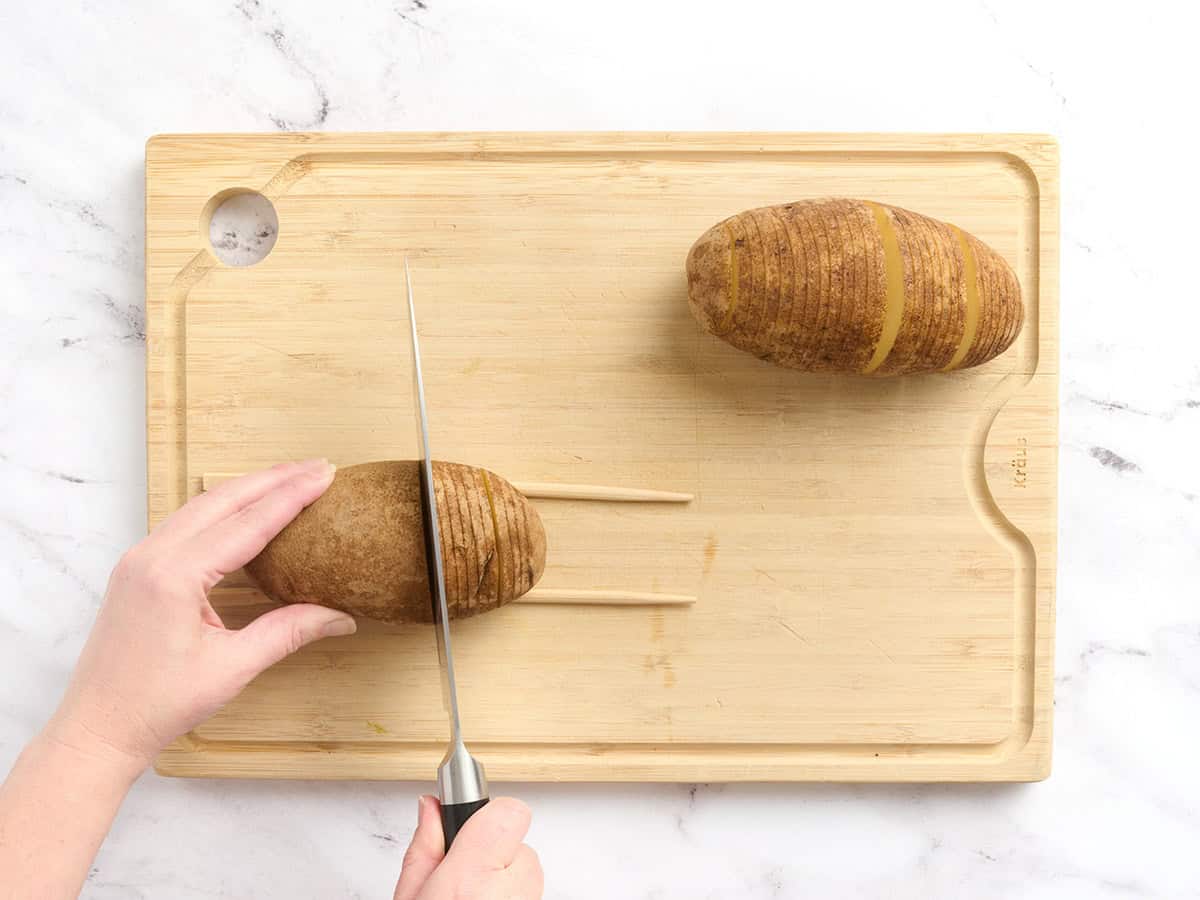
Slice the potatoes: Set each potato on its flattest side on a cutting board. Place a chopstick or another similar-sized kitchen utensil lengthwise along each side of the potato to help guide your knife.
Using a sharp knife, cut thin slices all along each potato, about ⅛ to ¼ inches apart, being careful not to cut all the way through. The chopsticks will help stop the knife before you reach the cutting board.

Season the potatoes: Mix together ¼ cup vegetable oil, 1 tsp kosher salt, ½ tsp black pepper, and ½ tsp garlic powder in a small bowl until combined.
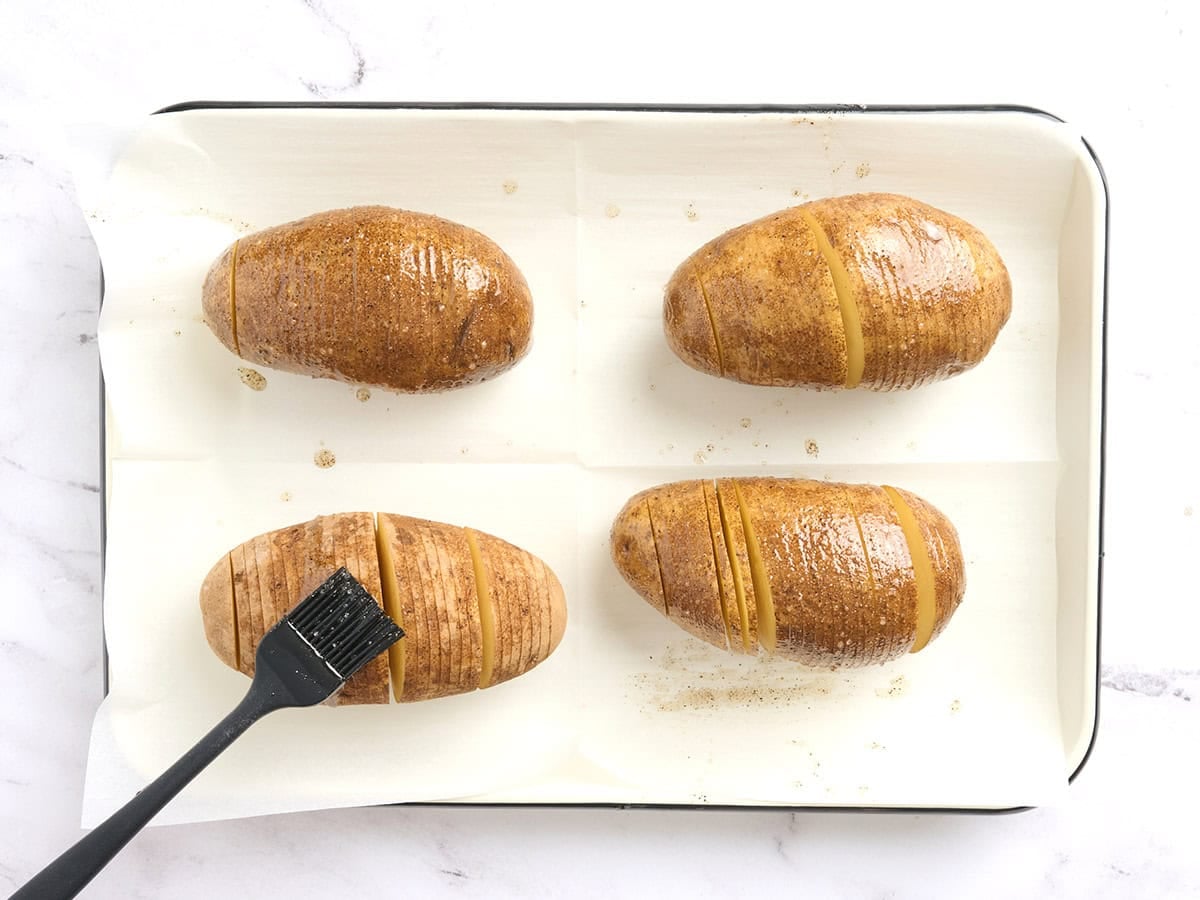
Arrange the potatoes on the prepared sheet pan. Brush them all over with about half of the seasoned oil mixture, stirring as you go so the salt, pepper, and garlic powder stay evenly distributed.
Cook: Roast for 35 minutes, or until the potatoes begin to soften and the slices start to open up. Remove the pan from the oven and brush the potatoes with the remaining oil mixture, doing your best to get some down between the layers. Be sure to use up all the seasonings left in the bowl.
Finish and serve: Return the potatoes to the oven and roast for 35 minutes more. Check for doneness by inserting a paring knife, fork, or toothpick into the middle of a potato. It should be fork-tender all the way through. Serve warm or at room temperature with your favorite toppings. Enjoy!

Topping Ideas!
I’m perfectly happy serving Hasselback baked potatoes just as they are, like I would any other roasted potato! But they’re also really fun to dress up if you want. These toppings would be delicious:
- Grated cheese (I like cheddar, Parmesan, mozzarella, or pepper jack)
- Green onions
- Crumbled oven cooked bacon
- Fresh herbs (try chives, parsley, thyme, rosemary, or dill!)
- Sour cream
- Butter
- Caramelized onions
Serving Suggestions
Hasselback potatoes really are simple enough for a weeknight with just about any main and a veggie, yet impressive enough for a special occasion meal. I like to serve them with glazed ham steaks, plus a side of roasted summer vegetables and green bean casserole for a dinner that still feels a little elevated without making a whole holiday spread.
Storage & Reheating
Leftover Hasselback potatoes can be stored in an airtight container in the refrigerator for up to 3-4 days. I recommend reheating in the oven or air-fryer at 375°F to help maintain crispiness. I don’t recommend freezing this recipe. Potatoes tend to change texture once thawed and can become grainy or watery.
Try These Easy Potato Sides Next!
- Air Fryer Potatoes are crispy on the outside, fluffy in the middle, and one of my favorite easy sides when I want roasted potatoes in a lot less time.
- Our easy Loaded Smashed Potatoes are boiled until tender, baked until golden and crisp, then piled with cheddar, sour cream, and green onions!
- These Roasted Potato Wedges are topped with a creamy, garlicky shawarma sauce, feta, and parsley…SO delicious and easy.
More Russet Potato Recipes


The post Hasselback Potatoes appeared first on Budget Bytes.
from Budget Bytes https://ift.tt/H1NngLw


No comments:
Post a Comment